RV Window Broken On The Road — Emergency Steps & Temporary Fix
When an RV side window breaks on the road, clear the loose glass with gloves and a shop vac, then weatherproof the opening for travel: cut rigid corrugated plastic or 1/4-inch plywood to the frame, bed it against the interior flange, and seal the perimeter with a removable butyl-backed tape rather than duct tape, which bakes onto the sidewall. Do not sheet a moving RV with plastic film alone — at highway speed it balloons, tears and takes trim with it. Most RV side windows are tempered safety glass that shatters completely, so the repair is a glass-only reglaze if the frame survived, or a full window unit if the frame bent. Identify the brand stamp — Hehr, Kinro, Lippert or Philips — before calling, because the rough opening dimension and the brand together determine whether the unit ships in three days or three weeks.
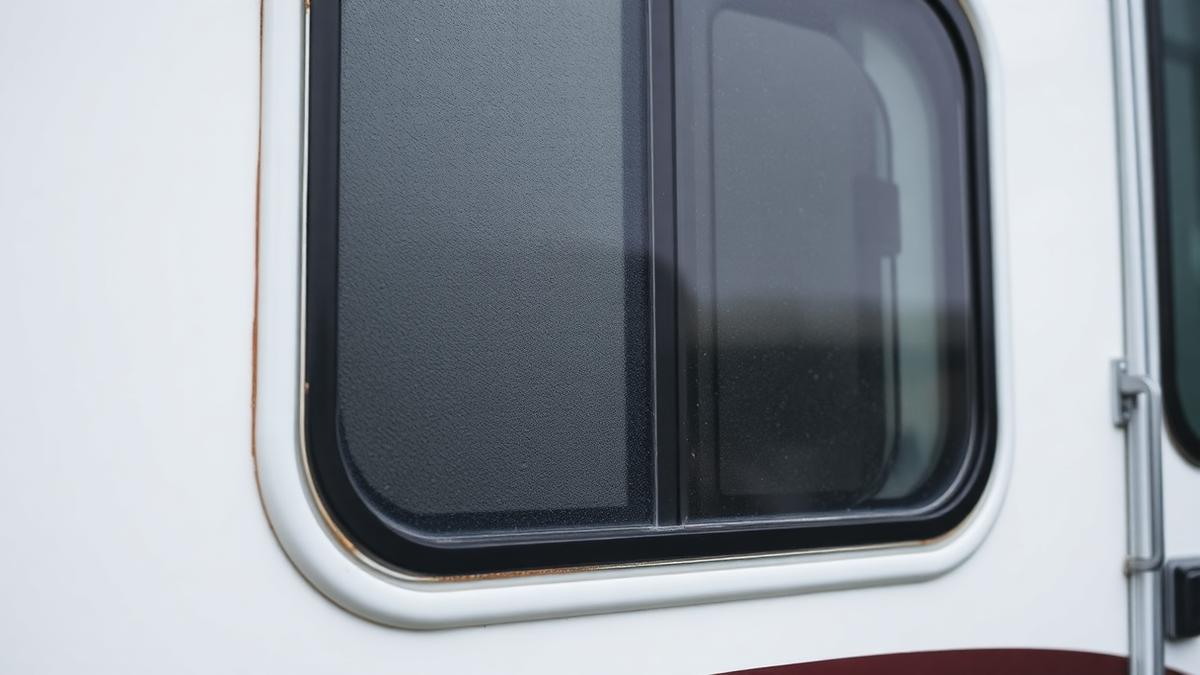
Step by step
- 1
Protect yourself first
Cut-resistant gloves, eye protection and closed shoes. Tempered glass fragments spread into carpet, dinette seams and slide tracks.
- 2
Clear the opening
Pull the remaining shards out of the frame channel with pliers, then shop-vac the track, the floor and any bedding. Fragments left in the channel prevent the new glass from seating.
- 3
Panel the opening
Cut corrugated plastic sign board or 1/4-inch ply to the interior frame and clamp or screw it into the existing frame holes — not into fresh sidewall holes.
- 4
Seal with the right tape
Use butyl-backed seam tape or 3M exterior repair tape on the perimeter. Skip duct tape and Gorilla tape: the adhesive bakes into gelcoat and decals.
- 5
Identify the window
Look for a brand stamp in the frame corner, and measure the rough opening height and width. That plus your coach year is what a supplier needs.
- 6
Book glass-only vs full unit
If the frame is straight and the flange is intact, a glass-only reglaze runs far cheaper. A bent or torn frame means a full unit and a resealed opening.
Do this now
- Glove up and clear the frame channel completely
- Vacuum bedding, carpet, slide tracks and the exterior seam
- Panel the opening with rigid material, not plastic film
- Use butyl-backed or 3M exterior tape on the perimeter
- Photograph the frame stamp and measure the rough opening
- Check inside for water staining before you drive again
Do not do this
- Duct tape or Gorilla tape on gelcoat, decals or aluminum siding
- Driving with only plastic sheeting over the opening
- Drilling new holes in the sidewall to hold a temporary panel
- Ordering a window on brand alone without the rough opening dimension
- Assuming the frame is fine because the glass took the hit
Fast facts
| Glass type | Tempered — shatters into fragments, not repairable |
| Temporary seal life | 7–14 days of travel if rigid and butyl-taped |
| Glass-only reglaze | $180 – $550 |
| Full window unit | $450 – $1,400 installed |
| Common brands | Hehr, Kinro, Lippert, Philips Products |
| Typical lead time | 3 days to 3 weeks depending on brand and series |
Why the frame matters more than the glass
RV side windows are an assembly: an exterior frame with a mounting flange, a butyl or foam seal against the sidewall, an interior clamp ring, and the glass itself. Break the glass and you may only need a reglaze. Bend the frame or tear the flange and you need the whole unit, plus a resealed opening — a different job at a different price.
Check the frame by sighting down each rail and by testing whether the clamp ring still pulls flush. A frame that will not pull flush will leak no matter how good the new glass is.
Water intrusion is the expensive part
The broken window is a few hundred dollars. A week of rain into a laminated sidewall is thousands. RV walls are luan, foam and framing bonded together; once water gets behind the flange it wicks laterally and delaminates the panel long before you see a stain.
That is why a rigid, sealed temporary panel beats a fast plastic tarp every time, and why you should reseal at the first sign of curling tape.
- Check the interior wall below the opening daily for softness
- Look for bubbling or waviness in the exterior skin around the frame
- Re-tape after any hard rain or a long high-speed leg
- Keep the panel installed until the replacement unit is physically in hand
Frequently Asked Questions
Can a broken RV side window be repaired instead of replaced?
No. RV side windows are tempered glass, so they shatter completely and cannot be resin-repaired. The choice is a glass-only reglaze into a surviving frame or a full window unit.
What should I use to cover a broken RV window for travel?
Rigid corrugated plastic or 1/4-inch plywood cut to the frame, fastened into existing frame holes, and sealed around the perimeter with butyl-backed seam tape. Plastic film alone will not survive highway speed.
How do I identify my RV window brand?
Check the frame corners and the interior clamp ring for a stamped name — Hehr, Kinro, Lippert or Philips Products. Then measure the rough opening height and width, which is how suppliers cross-reference discontinued series.
How much does an RV window replacement cost?
A glass-only reglaze runs $180 to $550. A complete window unit installed runs $450 to $1,400, with frameless bonded and large panoramic units at the top of the band.
Get RV Glass Quotes Near You
Tell us about your RV and we'll match you with a verified mobile or in-shop RV glass specialist in your area.
Prefer to browse first? Search RV glass shops by zip code.
Mobile RV Glass Specialists We've Vetted
More RV Glass Emergencies
- RV Windshield Cracked While Driving — What To Do Right Now
- RV Windshield Leaking Water — Find The Source & Fix It Properly
- RV Windshield Replacement At A Campground — How Mobile Service Works
- RV Windshield Chip Repair — When DIY Works And When It Ruins The Glass
- Need RV Glass Fixed Before A Trip — Realistic Timelines & Rush Options